
7: Adding User Accounts
7.1: Password Authentication
Meteor already comes with a basic authentication and account management system out of the box, so you only need to add the accounts-password to enable username and password authentication:
meteor add accounts-passwordThere are many more authentication methods supported. You can read more about the accounts system here.
We also recommend you to install bcrypt node module, otherwise, you are going to see a warning saying that you are using a pure-Javascript implementation of it.
meteor npm install --save bcryptYou should always use
meteor npminstead of onlynpmso you always use thenpmversion pinned by Meteor, this helps you to avoid problems due to different versions of npm installing different modules.
7.2: Create User Account
Now you can create a default user for our app, we are going to use meteorite as username, we just create a new user on server startup if we didn't find it in the database.
import { Meteor } from 'meteor/meteor';
import { Accounts } from 'meteor/accounts-base';
import { TasksCollection } from '/imports/api/TasksCollection';

..

const SEED_USERNAME = 'meteorite';
const SEED_PASSWORD = 'password';

Meteor.startup(async () => {
  if (!(await Accounts.findUserByUsername(SEED_USERNAME))) {
    await Accounts.createUser({
      username: SEED_USERNAME,
      password: SEED_PASSWORD,
    });
  }
  ..
});
You should not see anything different in your app UI yet.
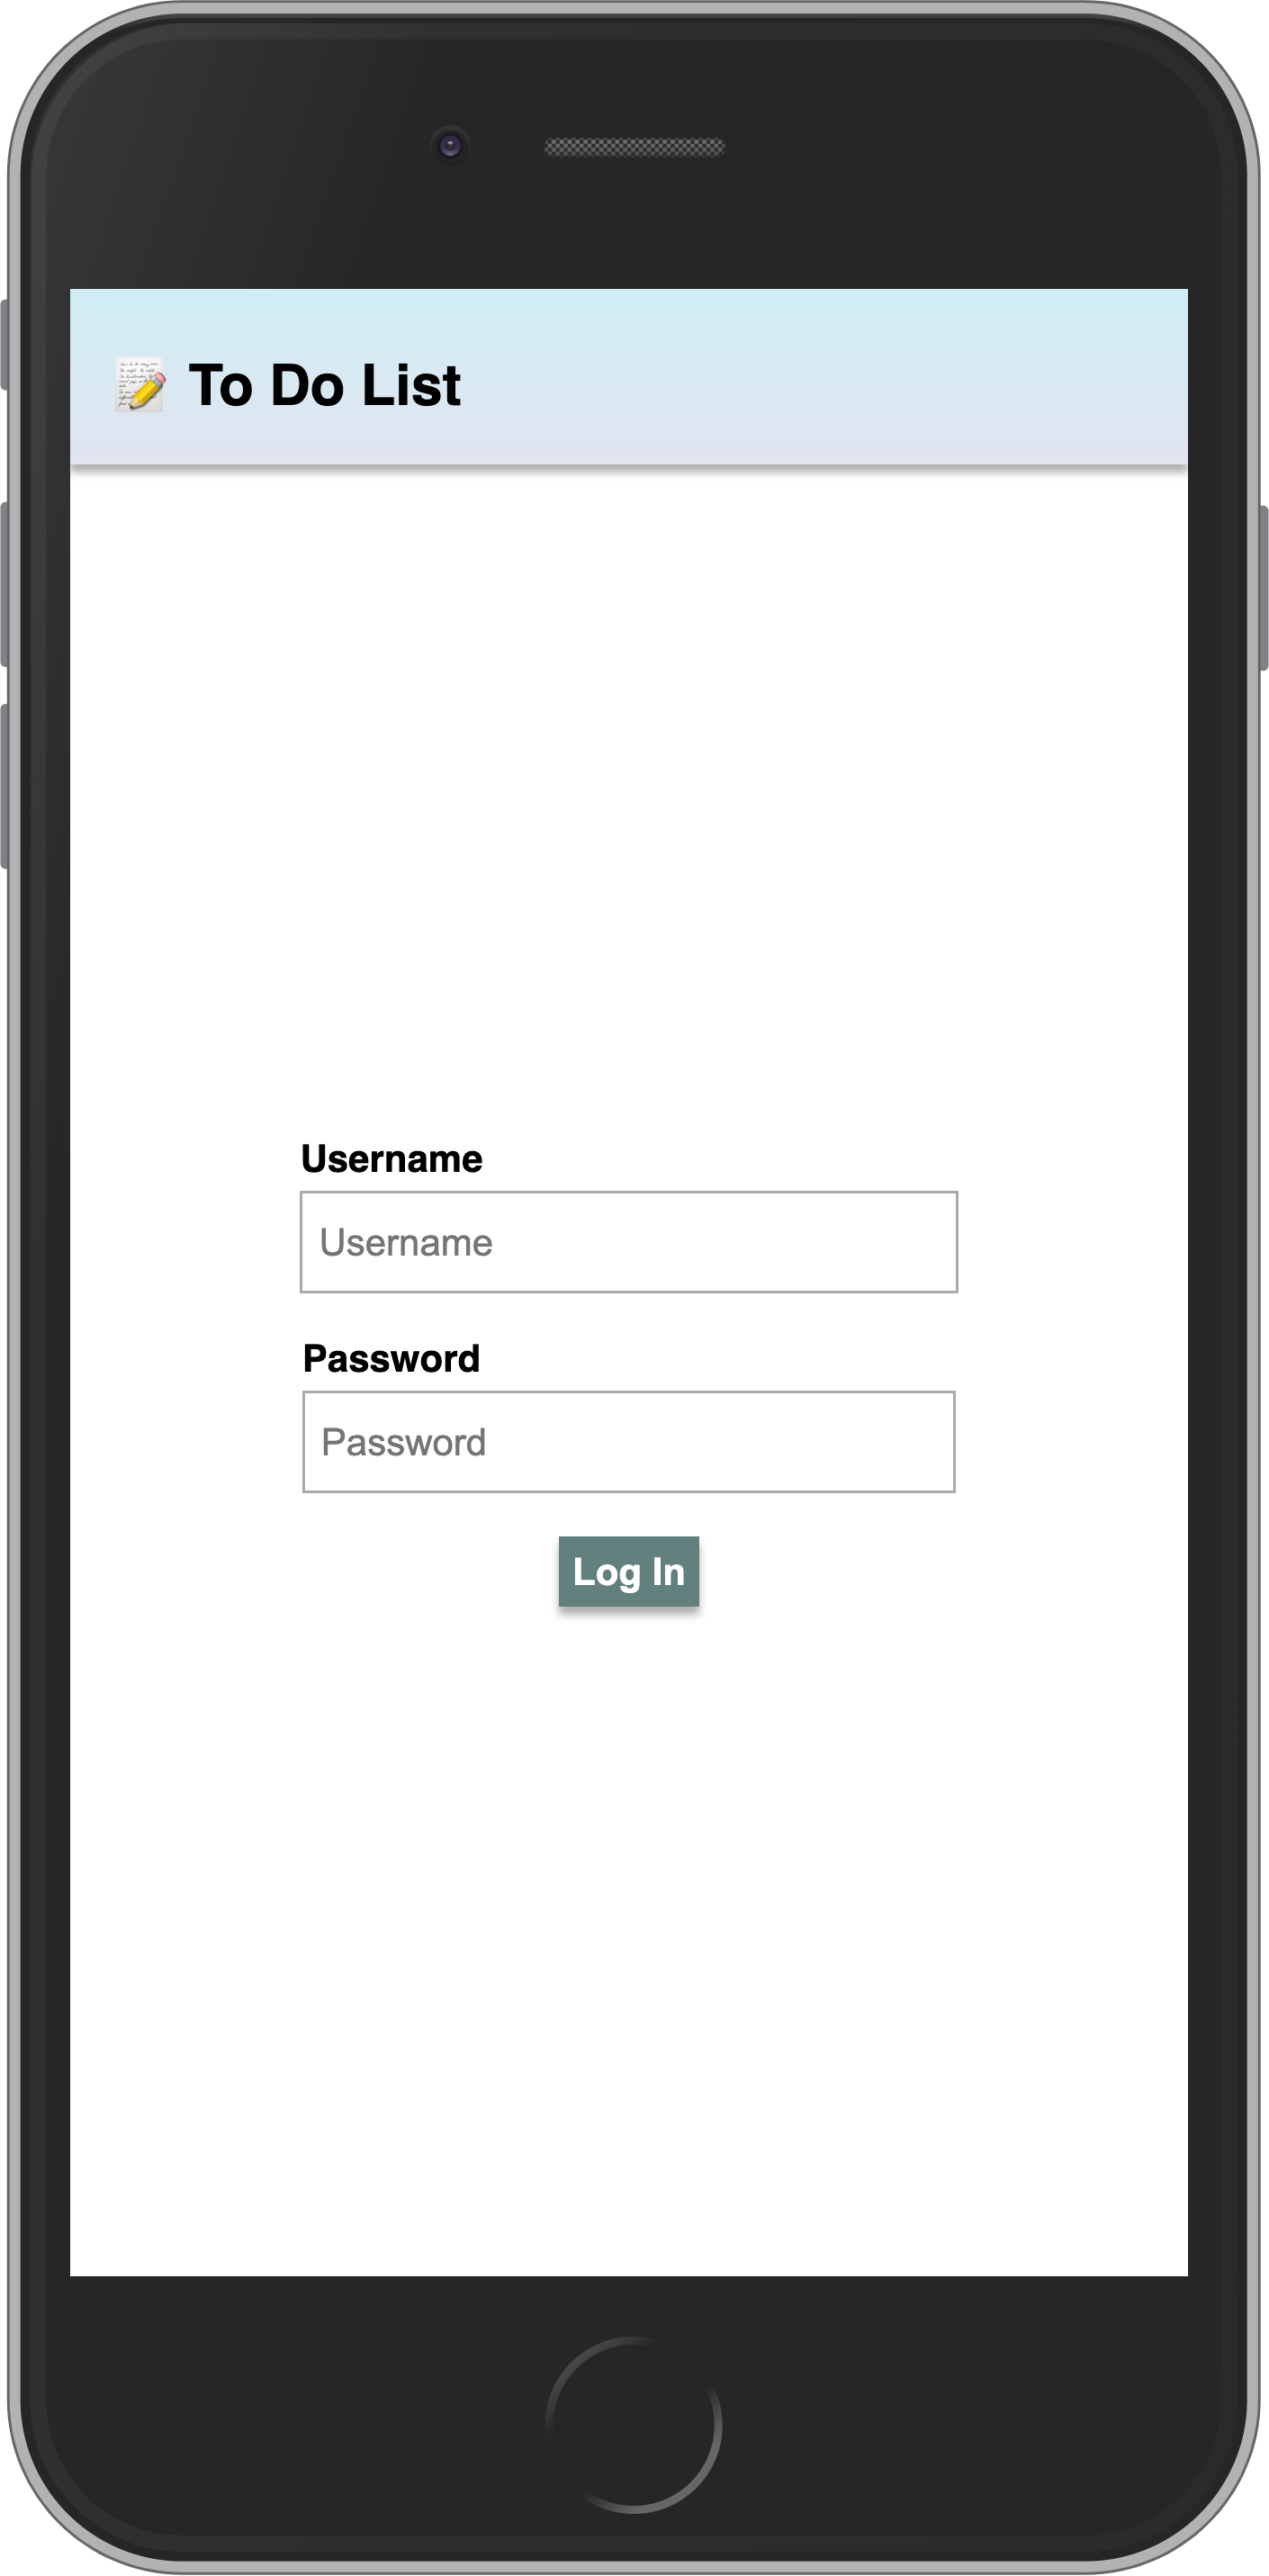
7.3: Login Form
You need to provide a way for the users to input the credentials and authenticate, for that we need a form.
We can implement it using useState hook. Create a new file called LoginForm.jsx and add a form to it. You should use Meteor.loginWithPassword(username, password); to authenticate your user with the provided inputs.
import { Meteor } from "meteor/meteor";
import React, { useState } from "react";

export const LoginForm = () => {
  const [username, setUsername] = useState("");
  const [password, setPassword] = useState("");

  const submit = (e) => {
    e.preventDefault();

    Meteor.loginWithPassword(username, password);
  };

  return (
    <form onSubmit={submit} className="login-form">
      <label htmlFor="username">Username</label>

      <input
        type="text"
        placeholder="Username"
        name="username"
        required
        onChange={(e) => setUsername(e.target.value)}
      />

      <label htmlFor="password">Password</label>

      <input
        type="password"
        placeholder="Password"
        name="password"
        required
        onChange={(e) => setPassword(e.target.value)}
      />

      <button type="submit">Log In</button>
    </form>
  );
};
Ok, now you have a form, let's use it.
7.4: Require Authentication
Our app should only allow an authenticated user to access its task management features.
We can accomplish that by returning the LoginForm component when we don't have an authenticated user, otherwise we return the form, filter, and list component.
You should first wrap the 3 components (form, filter, and list) in a <Fragment>, Fragment is a special component in React that you can use to group components together without affecting your final DOM, it means without affecting your UI as it is not going to introduce other elements in the HTML.
Read more about Fragments here
So you can get your authenticated user or null from Meteor.user(), you should wrap it in a useTracker hook for it to be reactive. Then you can return the Fragment with Tasks and everything else or LoginForm based on the user being present or not in the session.
import { Meteor } from 'meteor/meteor';
import React, { useState, Fragment } from 'react';
import { useTracker } from 'meteor/react-meteor-data';
import { TasksCollection } from '/imports/api/TasksCollection';
import { Task } from './Task';
import { TaskForm } from './TaskForm';
import { LoginForm } from './LoginForm';

..
export const App = () => {
  const user = useTracker(() => Meteor.user());

  ..
  return (
      ..
      <div className="main">
        {user ? (
          <Fragment>
            <TaskForm />

            <div className="filter">
              <button onClick={() => setHideCompleted(!hideCompleted)}>
                {hideCompleted ? 'Show All' : 'Hide Completed'}
              </button>
            </div>

            <ul className="tasks">
              {tasks.map(task => (
                <Task
                  key={task._id}
                  task={task}
                  onCheckboxClick={handleToggleChecked}
                  onDeleteClick={handleDelete}
                />
              ))}
            </ul>
          </Fragment>
        ) : (
          <LoginForm />
        )}
      </div>
..
7.5: Login Form style
Ok, let's style the login form now:
Wrap your pairs of label and input in divs so it will easier to control it on CSS. Do the same to the button tag.
<form onSubmit={submit} className="login-form">
  <div>
    <label htmlFor="username">Username</label>

    <input
      type="text"
      placeholder="Username"
      name="username"
      required
      onChange={(e) => setUsername(e.target.value)}
    />
  </div>

  <div>
    <label htmlFor="password">Password</label>

    <input
      type="password"
      placeholder="Password"
      name="password"
      required
      onChange={(e) => setPassword(e.target.value)}
    />
  </div>

  <div>
    <button type="submit">Log In</button>
  </div>
</form>
And then update the CSS:
.login-form {
  display: flex;
  flex-direction: column;
  height: 100%;

  justify-content: center;
  align-items: center;
}

.login-form > div {
  margin: 8px;
}

.login-form > div > label {
  font-weight: bold;
}

.login-form > div > input {
  flex-grow: 1;
  box-sizing: border-box;
  padding: 10px 6px;
  background: transparent;
  border: 1px solid #aaa;
  width: 100%;
  font-size: 1em;
  margin-right: 16px;
  margin-top: 4px;
}

.login-form > div > input:focus {
  outline: 0;
}

.login-form > div > button {
  background-color: #62807e;
}
Now your login form should be centralized and beautiful.
7.6: Server startup
Every task should have an owner from now on. So go to your database, as you learn before, and remove all the tasks from there:
db.tasks.remove({});
Change your server/main.js to add the seed tasks using your meteorite user as owner.
Make sure you restart the server after this change so Meteor.startup block will run again. This is probably going to happen automatically anyway as you are going to make changes in the server side code.
import { Meteor } from "meteor/meteor";
import { Accounts } from "meteor/accounts-base";
import { TasksCollection } from "/imports/api/TasksCollection";

const insertTask = (taskText, user) =>
  TasksCollection.insertAsync({
    text: taskText,
    userId: user._id,
    createdAt: new Date(),
  });

const SEED_USERNAME = "meteorite";
const SEED_PASSWORD = "password";

Meteor.startup(async () => {
  if (!(await Accounts.findUserByUsername(SEED_USERNAME))) {
    await Accounts.createUser({
      username: SEED_USERNAME,
      password: SEED_PASSWORD,
    });
  }

  const user = await Accounts.findUserByUsername(SEED_USERNAME);

  if ((await TasksCollection.find().countAsync()) === 0) {
    [
      "First Task",
      "Second Task",
      "Third Task",
      "Fourth Task",
      "Fifth Task",
      "Sixth Task",
      "Seventh Task",
    ].forEach((taskText) => insertTask(taskText, user));
  }
});
See that we are using a new field called userId with our user _id field, we are also setting createdAt field.
7.7: Task owner
First, let's change our publication to publish the tasks only for the currently logged user. This is important for security, as you send only data that belongs to that user.
Meteor.publish("tasks", function () {
  const userId = this.userId;
  if (!userId) {
    return this.ready();
  }
  return TasksCollection.find({ userId });
});
Now let's check if we have a user before trying to fetch any data:
..
    const tasks = useTracker(() => {
      if (!user) {
        return [];
      }

      return TasksCollection.find(
        hideCompleted ? hideCompletedFilter : {},
        {
          sort: { createdAt: -1 },
        }
      ).fetch();
    });

    const pendingTasksCount = useTracker(() => {
      if (!user) {
        return 0;
      }
      ..
    });
..
Also, update the tasks.insert method to include the field userId when creating a new task:
..
Meteor.methods({
  "tasks.insert"(doc) {
    return TasksCollection.insertAsync({
      ...doc,
      userId: this.userId,
    });
  },
..
7.8: Log out
We also can better organize our tasks by showing the username of the owner below our app bar. You can include a new div right after our Fragment start tag.
On this, you can add an onClick handler to logout the user as well. It is very straightforward, just call Meteor.logout() on it.
..
  const logout = () => Meteor.logout();

  return (
..
    <Fragment>
      <div className="user" onClick={logout}>
        {user.username} 🚪
      </div>
..
Remember to style your username as well.
.user {
display: flex;
align-self: flex-end;
margin: 8px 16px 0;
font-weight: bold;
cursor: pointer;
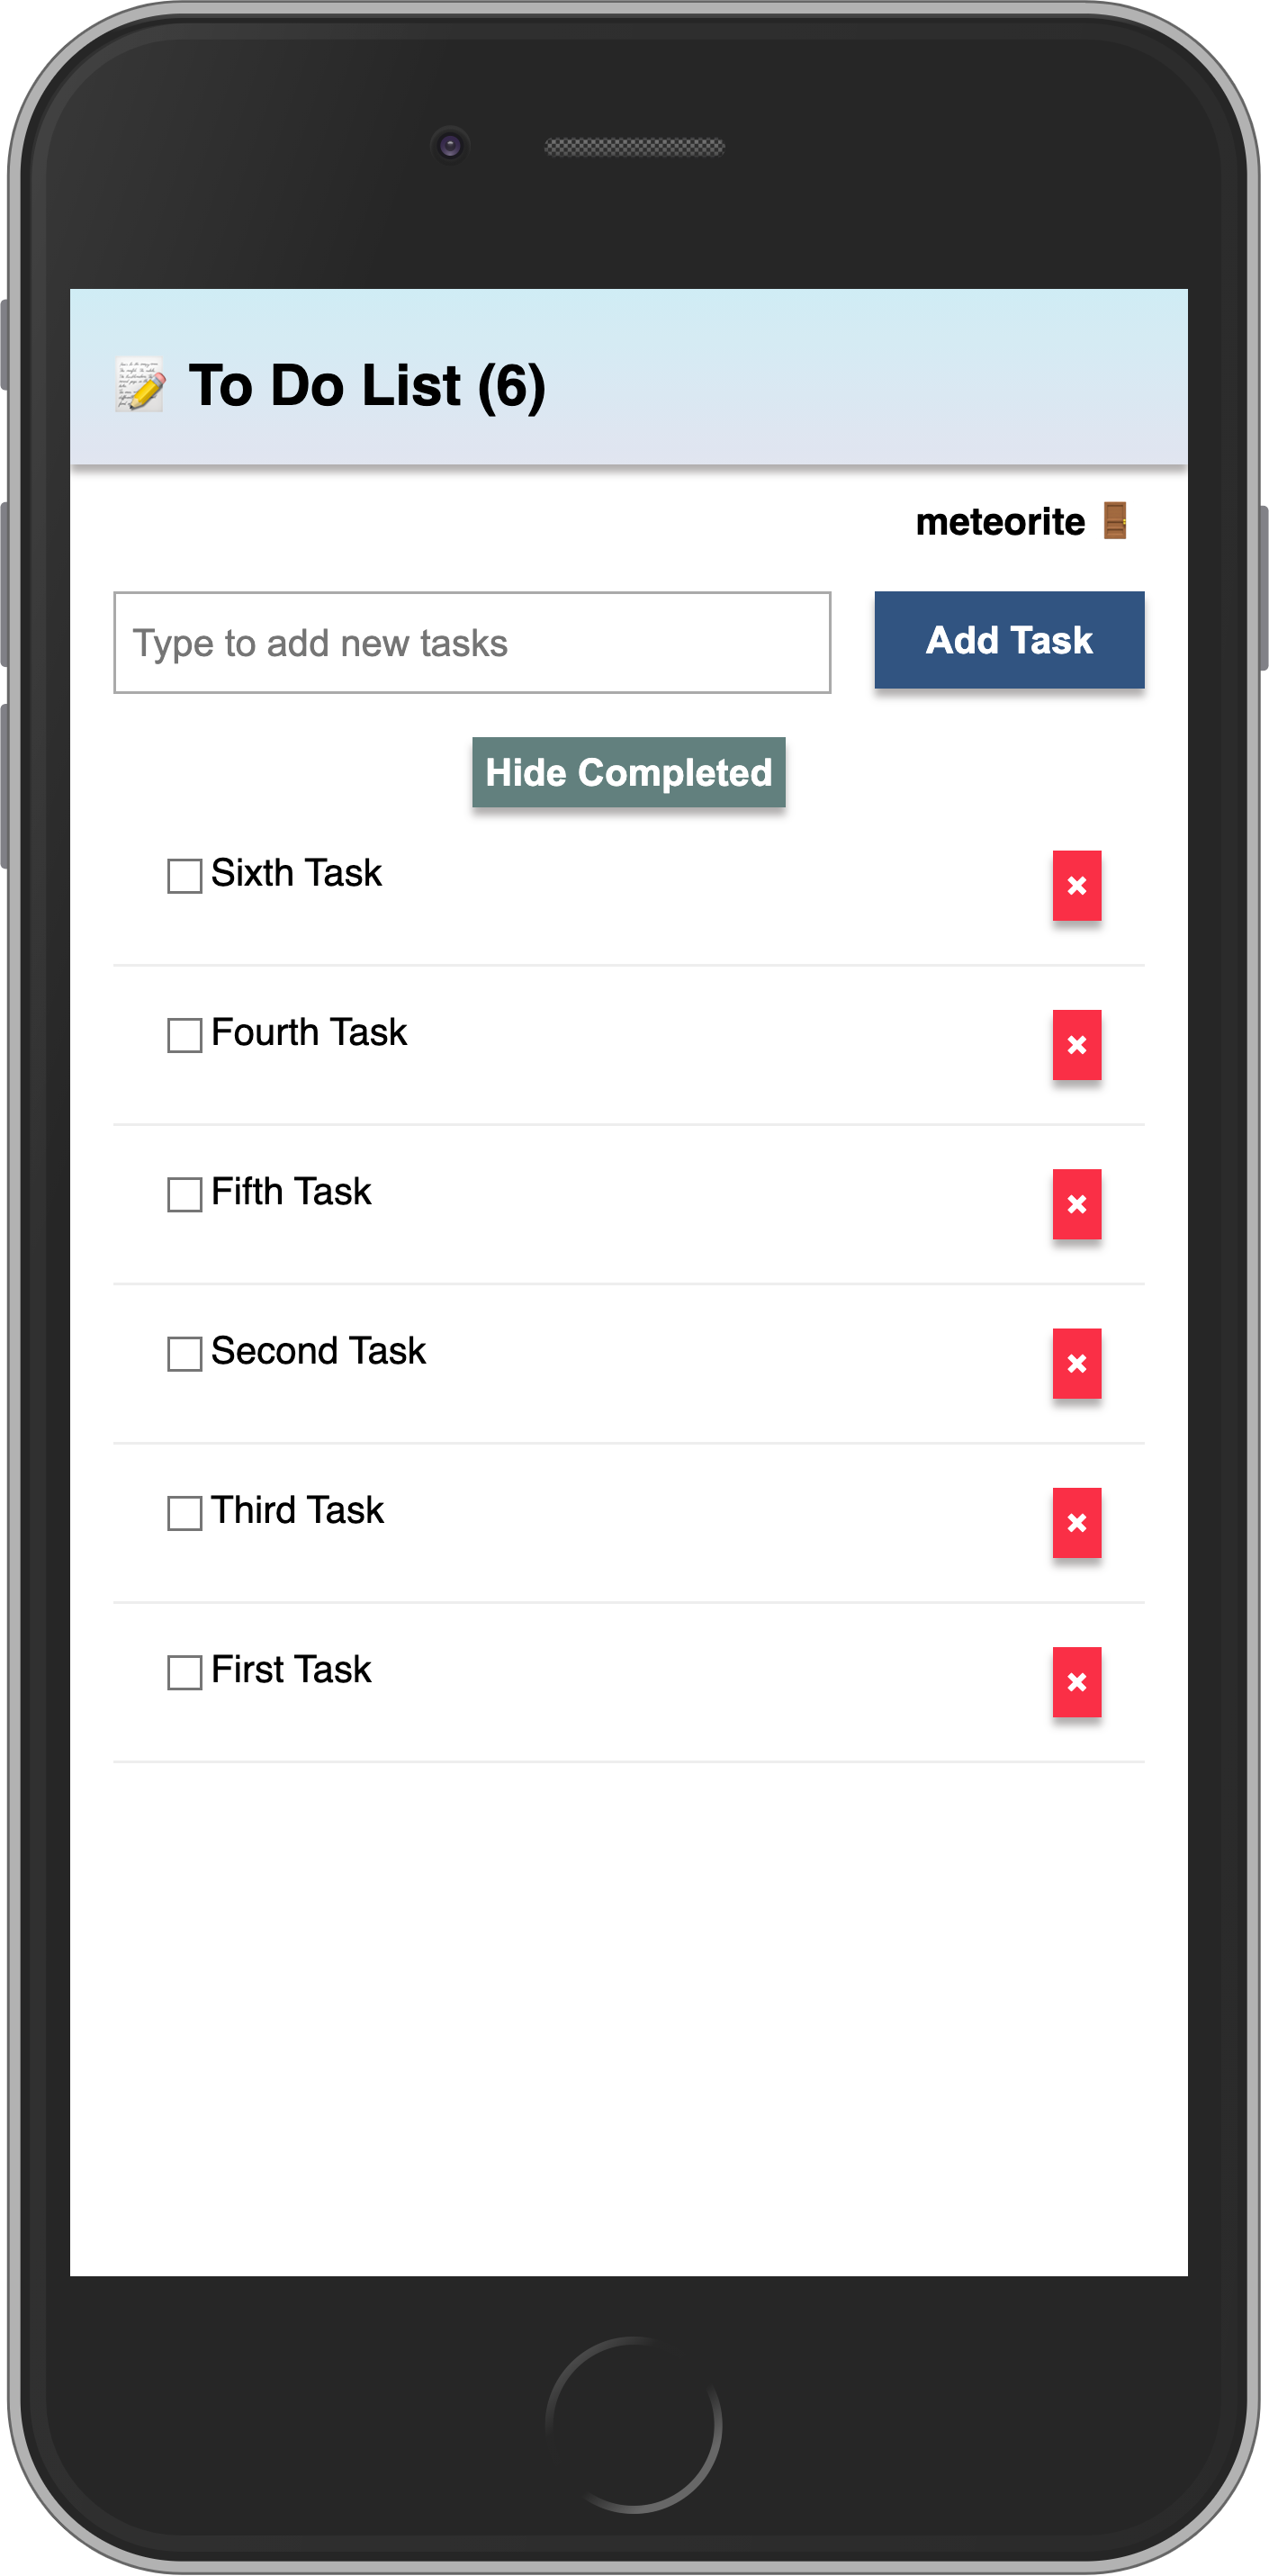
}Phew! You have done quite a lot in this step. Authenticated the user, set the user in the tasks, and provided a way for the user to log out.
Your app should look like this:
In the next step, we are going to learn how to deploy your app!