
4: Update and Remove
Up until now, you have only inserted documents into our collection. Let's take a look at how you can update and remove them by interacting with the user interface.
4.1: Add Checkbox
First, you need to add a checkbox element to your Task component.
Next, let’s create a new file for our task in imports/ui/Task.jsx, so we can start to separate the logic in our app.
import { Meteor } from "meteor/meteor";

export const Task = (props) => {
  const { task } = props;

  const toggleChecked = async () => {
    await Meteor.callAsync("tasks.toggleChecked", { _id: task._id, isChecked: task.isChecked });
  };

  return (
    <li>
      <label>
        <input type="checkbox" checked={task.isChecked} onChange={toggleChecked} />
        <span>{task.text}</span>
      </label>
    </li>
  );
};
Now, update App.jsx to import and use the Task component in the <For> loop. Remove the old <li> markup.
import { createSignal, For, Show } from "solid-js";
import { Meteor } from "meteor/meteor";
import { Tracker } from "meteor/tracker";
import { TasksCollection } from "../api/TasksCollection";
import { Task } from "./Task.jsx";

export const App = () => {
  const [newTask, setNewTask] = createSignal('');

  const addTask = async (event) => {
    event.preventDefault();
    if (newTask().trim()) {
      await Meteor.callAsync("tasks.insert", {
        text: newTask(),
        createdAt: new Date(),
      });
      setNewTask('');
    }
  };

  const subscription = Meteor.subscribe("tasks");
  const [isReady, setIsReady] = createSignal(subscription.ready());
  const [tasks, setTasks] = createSignal([]);

  Tracker.autorun(async () => {
    setIsReady(subscription.ready());
    setTasks(await TasksCollection.find({}, { sort: { createdAt: -1 } }).fetchAsync());
  });

  return (
    <div class="container">
      <header>
        <h1>Todo List</h1>
      </header>

      <form class="task-form" onSubmit={addTask}>
        <input
          type="text"
          placeholder="Type to add new tasks"
          value={newTask()}
          onInput={(e) => setNewTask(e.currentTarget.value)}
        />
        <button type="submit">Add Task</button>
      </form>

      <Show
        when={isReady()}
        fallback={<div>Loading ...</div>}
      >
        <ul>
          <For each={tasks()}>
            {(task) => (
              <Task task={task} />
            )}
          </For>
        </ul>
      </Show>
    </div>
  );
};
4.2: Toggle Checkbox
Now you can update your task document by toggling its isChecked field.
First, create a new method called tasks.toggleChecked to update the isChecked property.
import { Meteor } from "meteor/meteor";
import { TasksCollection } from "./TasksCollection";

Meteor.methods({
  ...
  "tasks.toggleChecked"({ _id, isChecked }) {
    return TasksCollection.updateAsync(_id, {
      $set: { isChecked: !isChecked },
    });
  },
});
In Task.jsx (as shown above), we've added an onChange handler that calls the method to toggle the checked state.
Toggling checkboxes should now persist in the DB even if you refresh the web browser.
Your app should look like this:
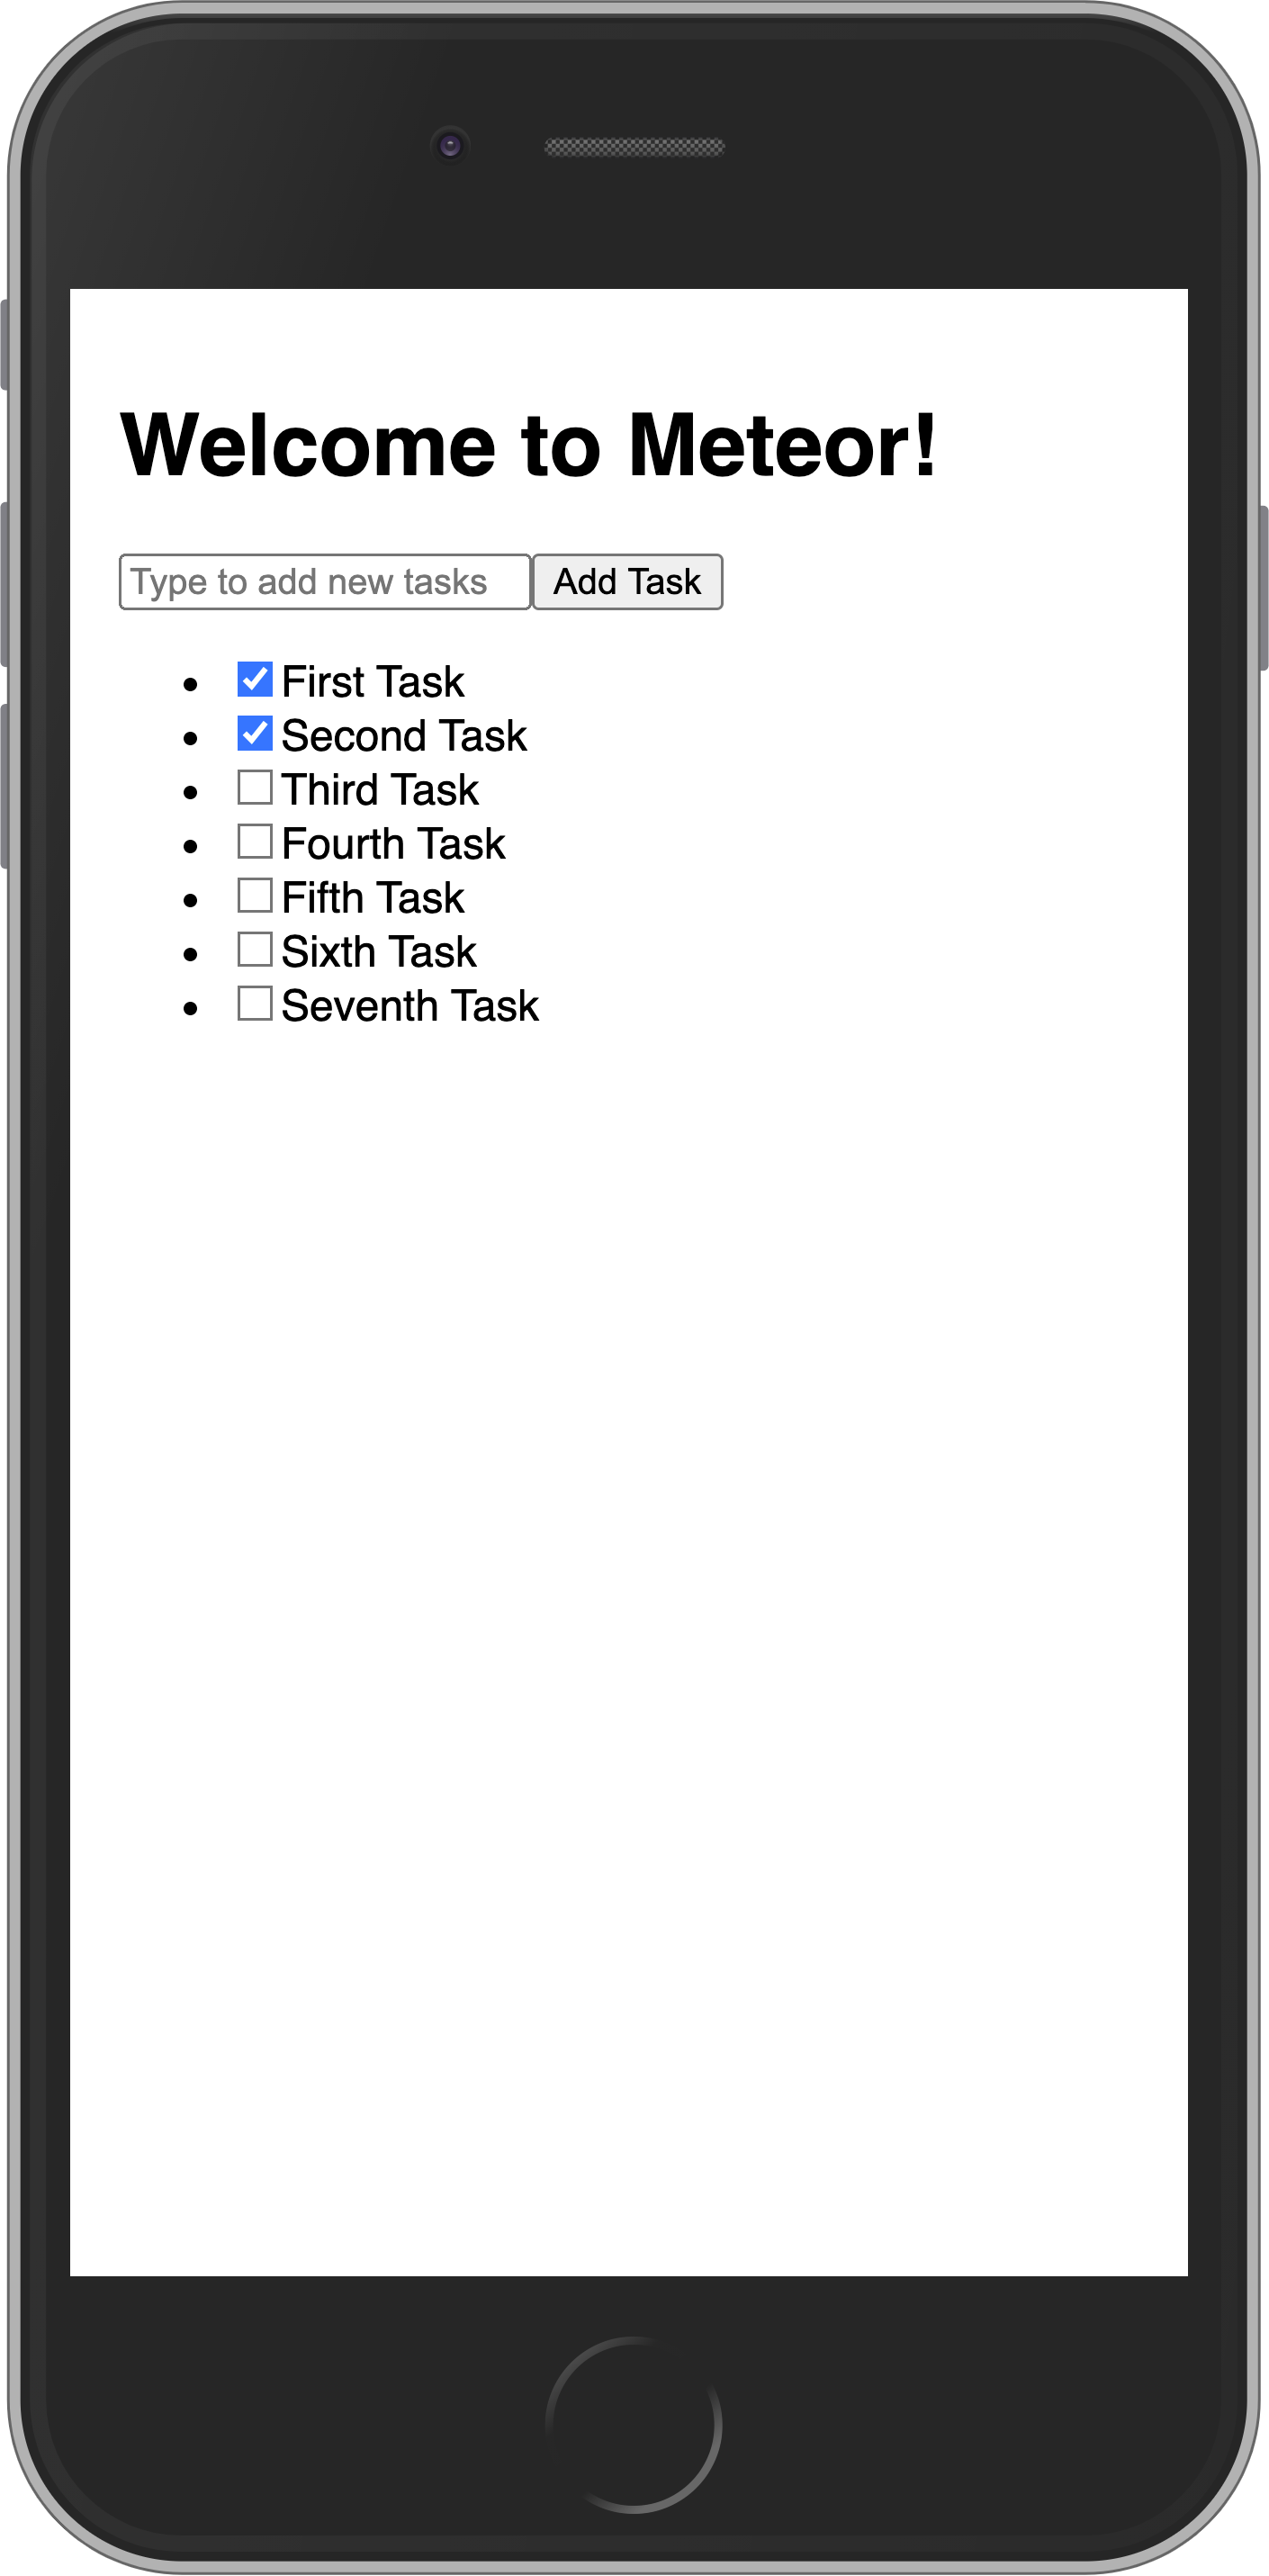
If your computer is fast enough, it's possible that when it sets up the default tasks a few will have the same date. That will cause them to non-deterministically "jump around" in the UI as you toggle checkboxes and the UI reactively updates. To make it stable, you can add a secondary sort on the _id of the task:
...

Tracker.autorun(async () => {
  setIsReady(subscription.ready());
  setTasks(await TasksCollection.find({}, { sort: { createdAt: -1, _id: -1 } }).fetchAsync());
});

...
4.3: Remove tasks
You can remove tasks with just a few lines of code.
First, add a button after the label in your Task component and a deleteTask function.
import { Meteor } from "meteor/meteor";
export const Task = (props) => {
const { task } = props;
const toggleChecked = async () => {
await Meteor.callAsync("tasks.toggleChecked", { _id: task._id, isChecked: task.isChecked });
};
const deleteTask = async () => {
await Meteor.callAsync("tasks.delete", { _id: task._id });
};
return (
<li>
<label>
<input type="checkbox" checked={task.isChecked} onChange={toggleChecked} />
<span>{task.text}</span>
</label>
<button class="delete" onClick={deleteTask}>×</button> // [!code highlight]
</li>
);
};Next you need to have a function to delete the task. For that, let's create a new method called tasks.delete:
import { Meteor } from "meteor/meteor";
import { TasksCollection } from "./TasksCollection";
Meteor.methods({
...
"tasks.delete"({ _id }) {
return TasksCollection.removeAsync(_id);
},
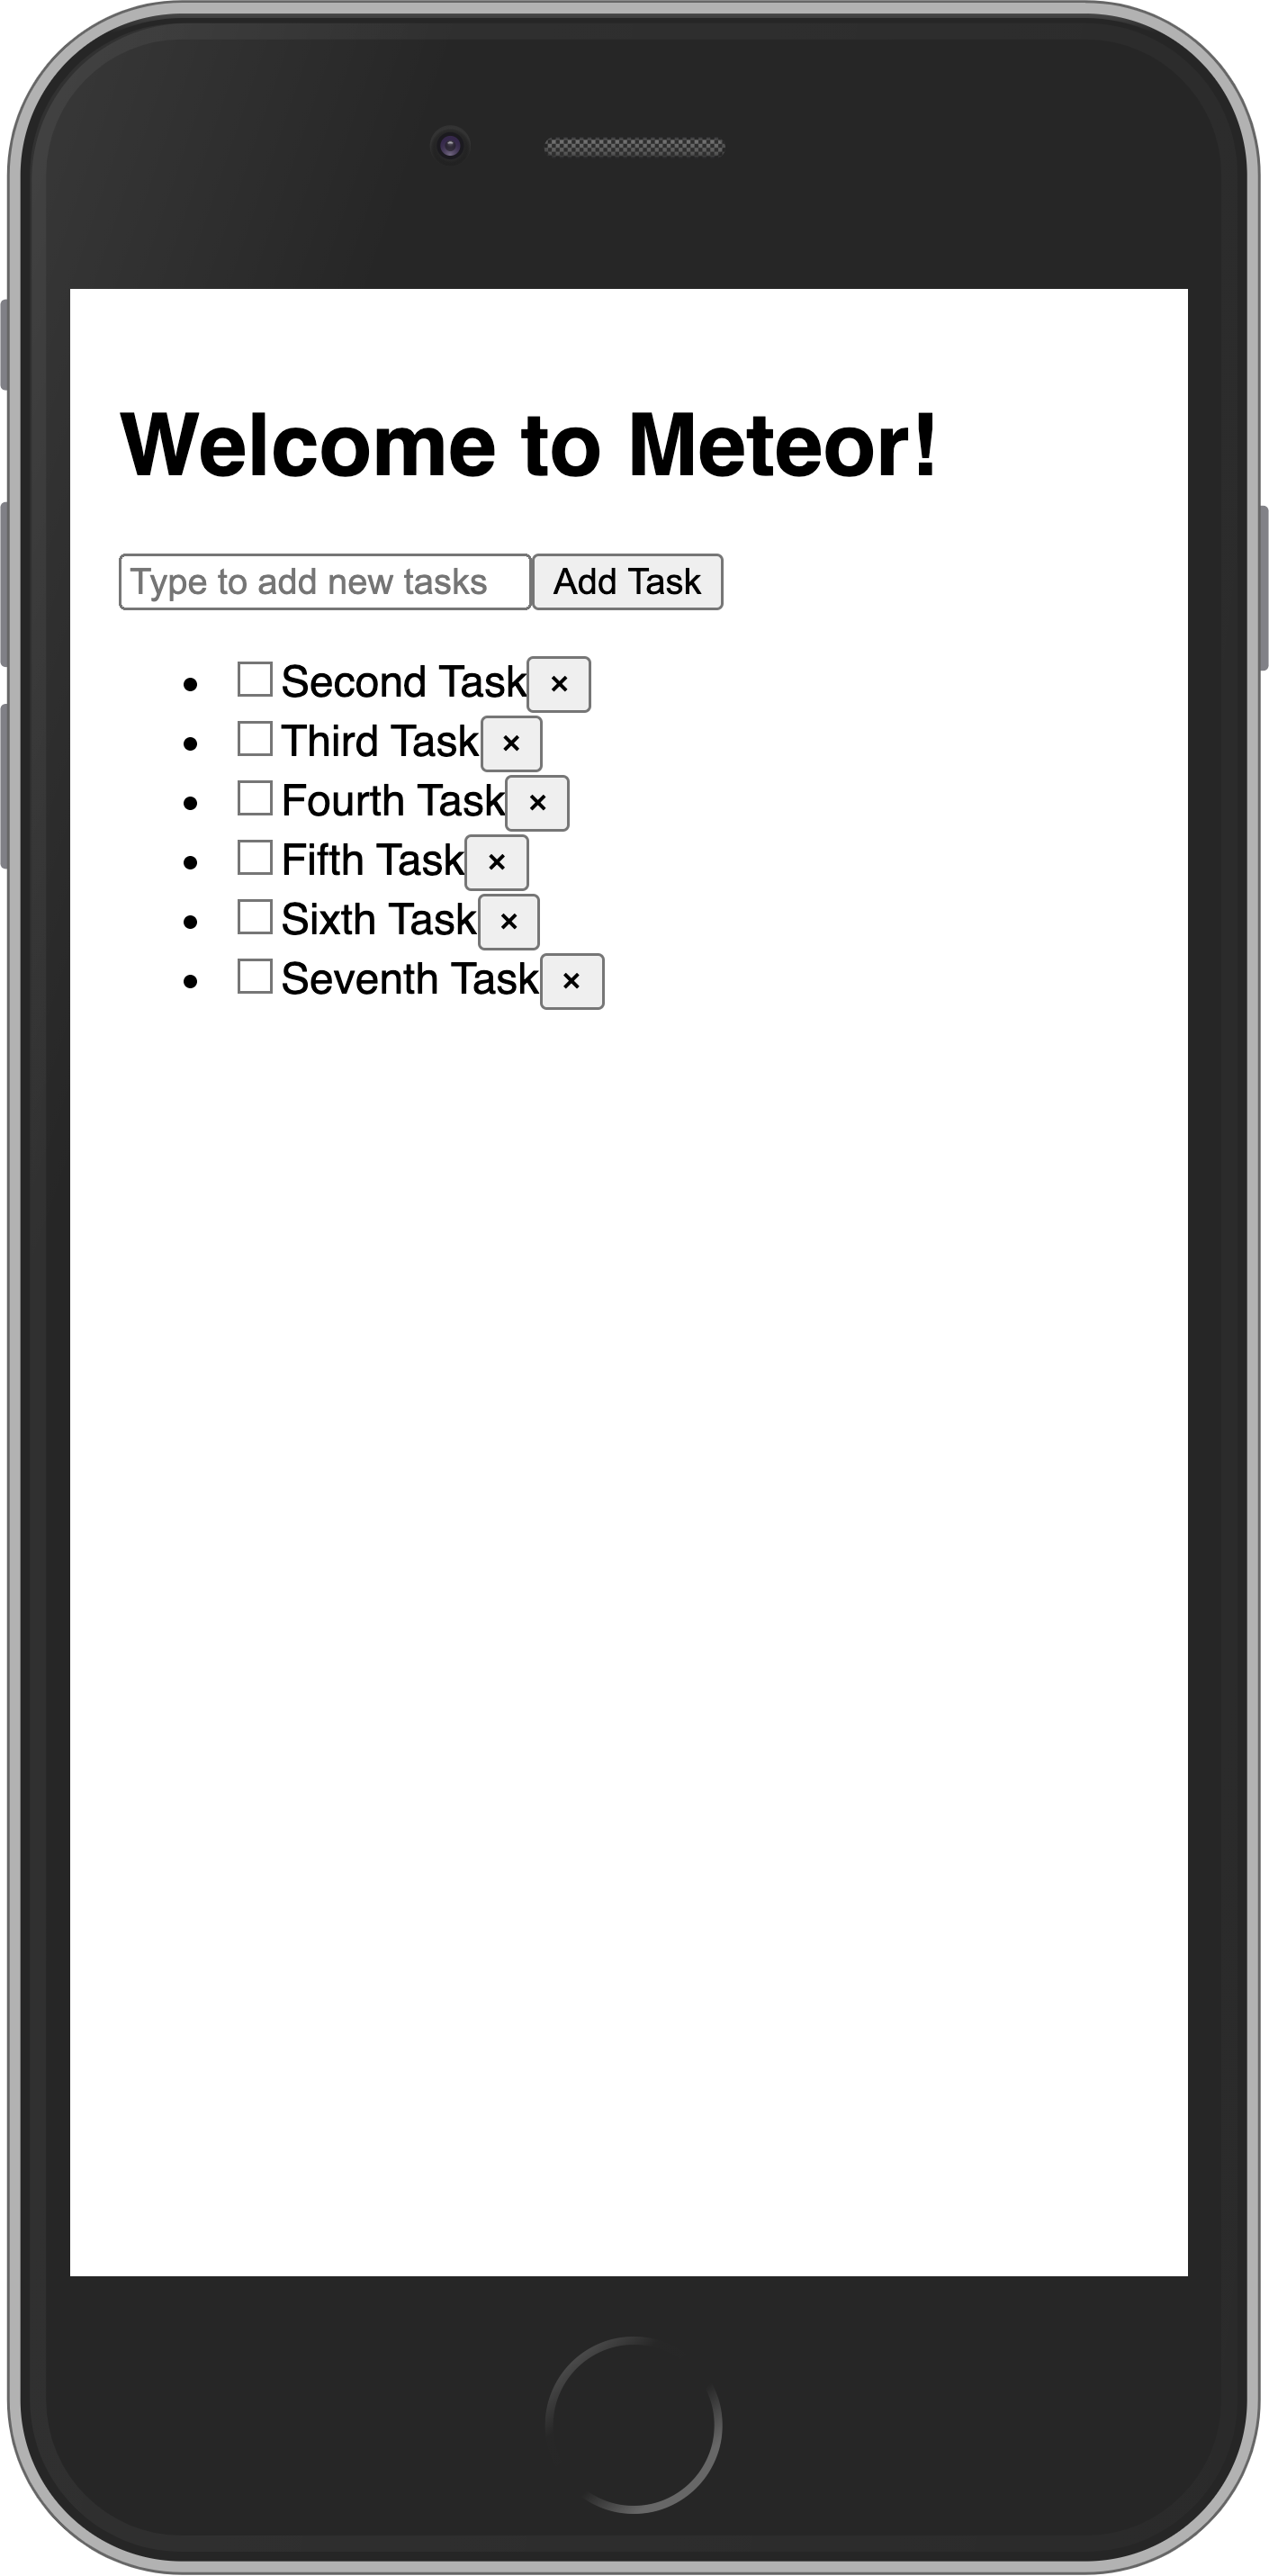
});Now the removal logic is handled in Task.jsx via the onClick event on the delete button, which calls the Meteor method.
Your app should look like this:
4.4: Getting data in event handlers
In a collection, every inserted document has a unique _id field that can refer to that specific document. Inside the component, the task prop provides access to the task object, including its _id and other fields like isChecked and text. We use these to call Meteor methods for updating or removing the specific task.
In the next step, we are going to improve the look of your app using CSS with Flexbox.