
4: Update and Remove
Up until now, you have only inserted documents into our collection. Let's take a look at how you can update and remove them by interacting with the user interface.
4.1: Add Checkbox
First, you need to add a checkbox element to your Task component.
Next, let’s create a new file for our task template in imports/ui/Task.html, so we can start to separate the logic in our app.
<template name="task">
    <li>
        <label>
          <input type="checkbox" checked="{{isChecked}}" class="toggle-checked" />
          <span>{{text}}</span>
        </label>
    </li>
</template>
Don’t forget to remove the template named task in imports/ui/App.html.
You must also add the following import:
...
import './Task';
...
4.2: Toggle Checkbox
Now you can update your task document by toggling its isChecked field.
First, create a new method called tasks.toggleChecked to update the isChecked property.
import { Meteor } from "meteor/meteor";
import { TasksCollection } from "./TasksCollection";

Meteor.methods({
  ..
  "tasks.toggleChecked"({ _id, isChecked }) {
    return TasksCollection.updateAsync(_id, {
      $set: { isChecked: !isChecked },
    });
  },
});
Create a new file called Task.js so we can have our handlers to the task template:
import { Template } from 'meteor/templating';
import { TasksCollection } from "../api/TasksCollection";
import '/imports/api/TasksMethods.js'; // this import in this client UI allows for optimistic execution
import './Task.html';
Template.task.events({
'click .toggle-checked'() {
// Set the checked property to the opposite of its current value
let taskID = this._id;
let checkedValue = Boolean(this.isChecked);
Meteor.callAsync("tasks.toggleChecked", { _id: taskID, isChecked: checkedValue });
},
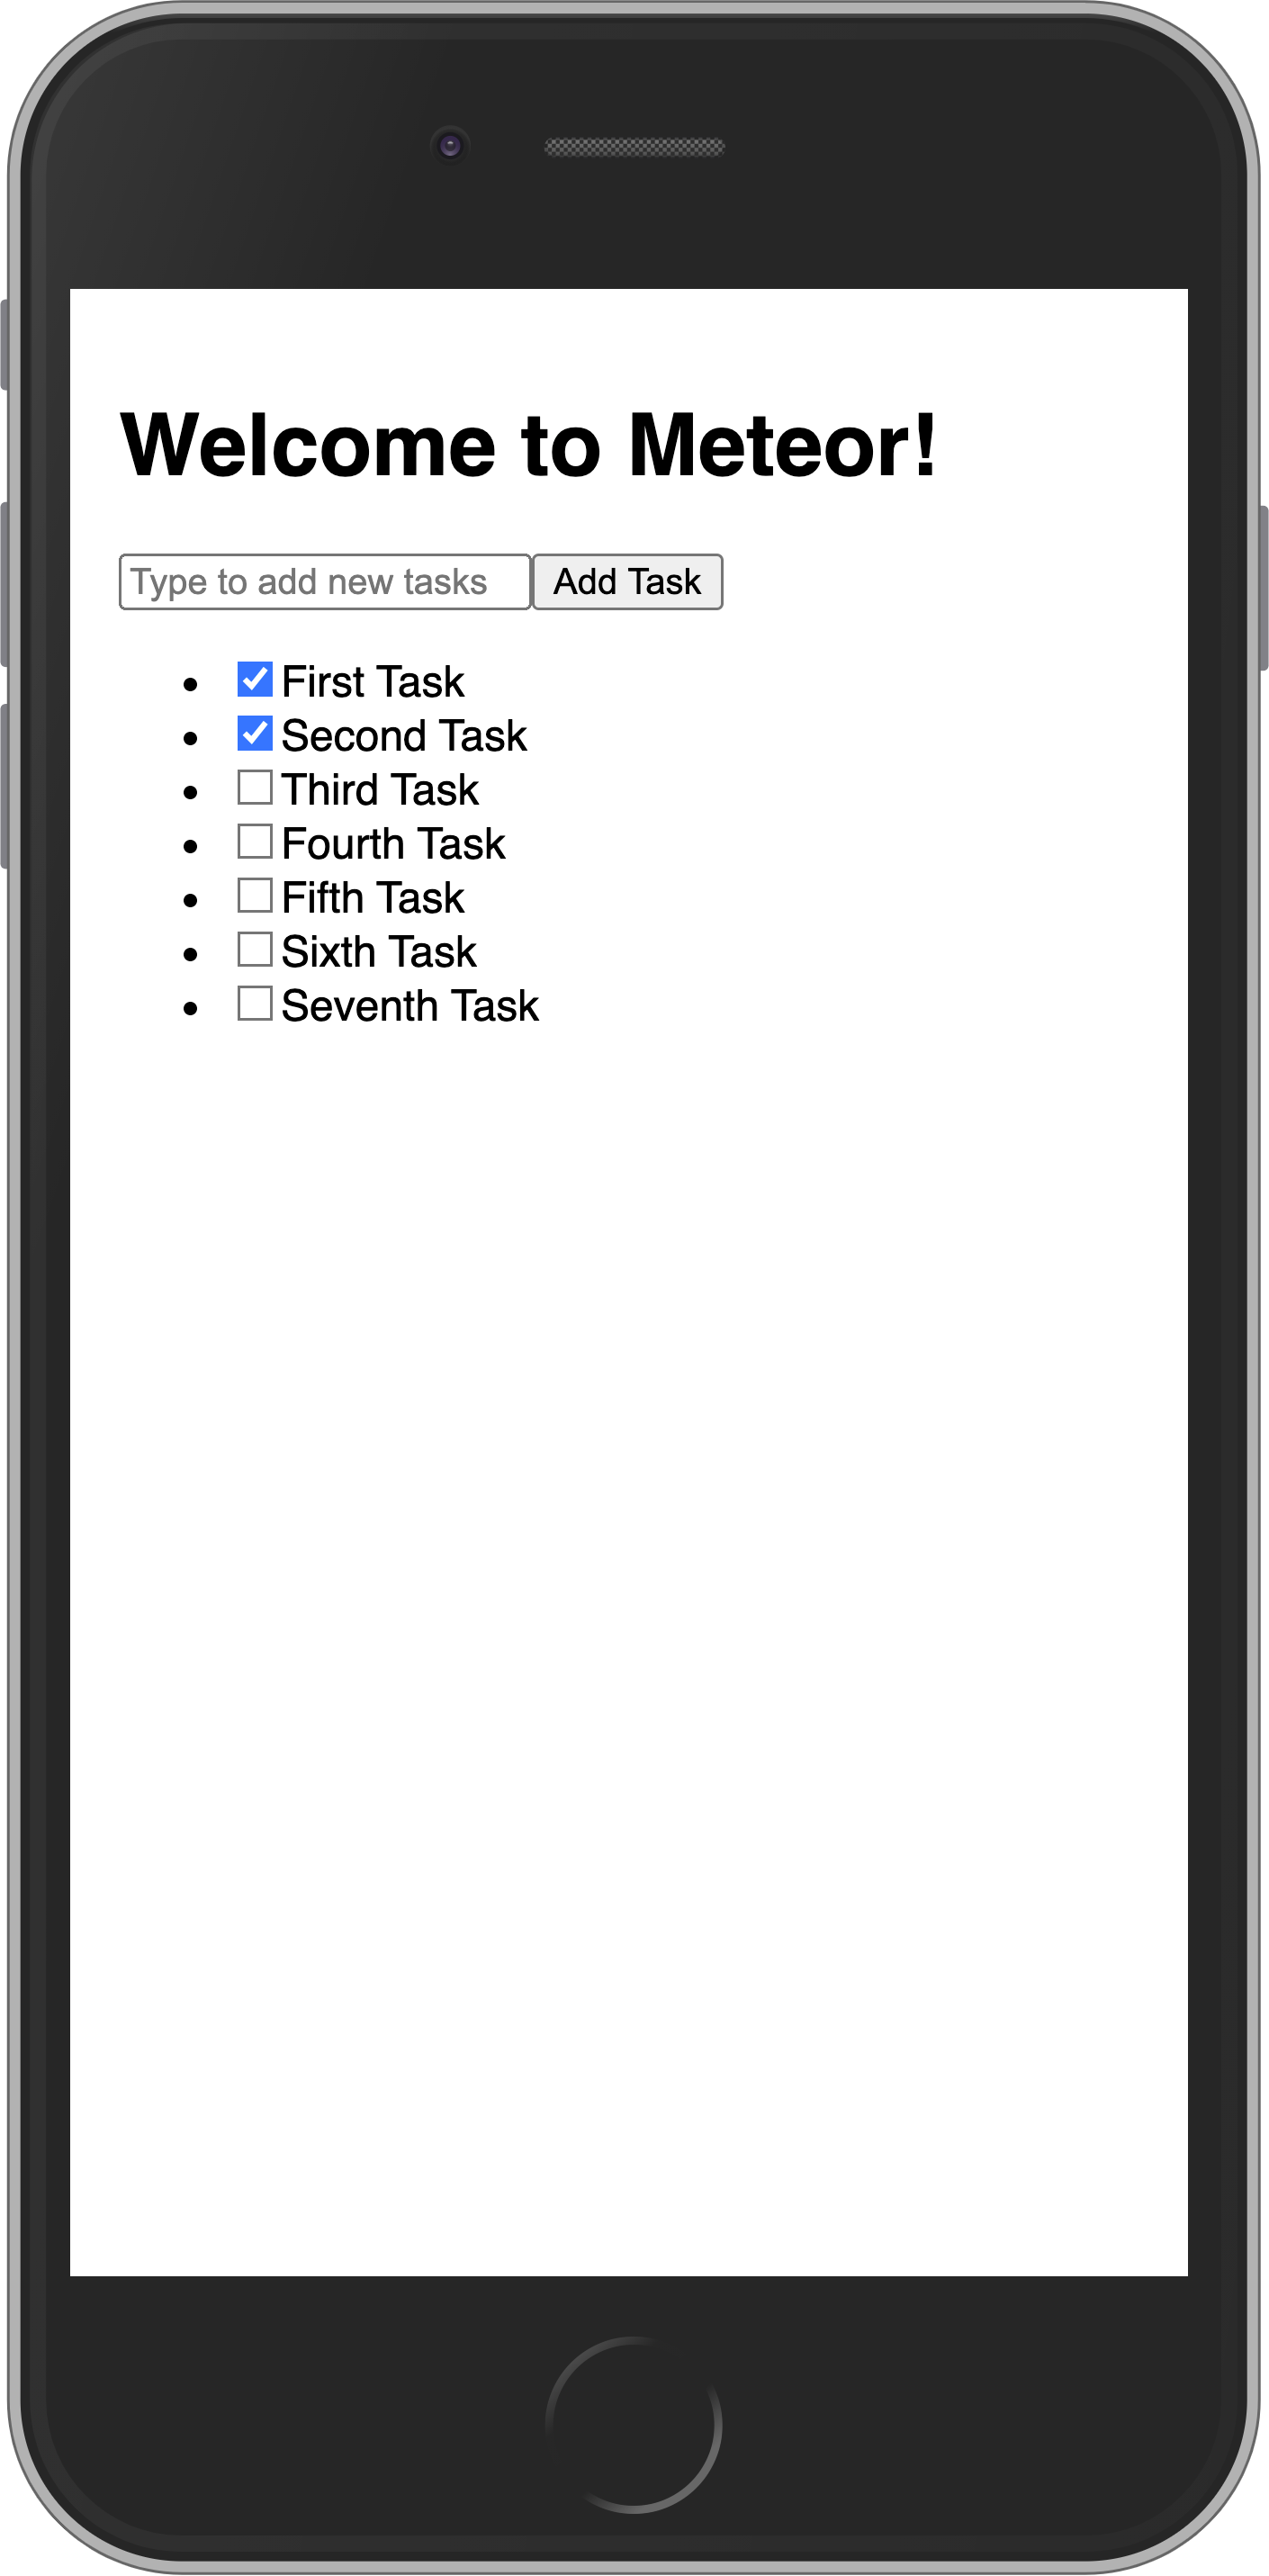
});Toggling checkboxes should now persist in the DB even if you refresh the web browser.
Your app should look like this:
If your computer is fast enough, it's possible that when it sets up the default tasks a few will have the same date. That will cause them to non-deterministically "jump around" in the UI as you toggle checkboxes and the UI reactively updates. To make it stable, you can add a secondary sort on the _id of the task:
...

Template.mainContainer.helpers({
  tasks() {
    return TasksCollection.find({}, { sort: { createdAt: -1, _id: -1 } });
  },
...
4.3: Remove tasks
You can remove tasks with just a few lines of code.
First, add a button after text label in your Task component.
<template name="task">
<li>
<label>
<input type="checkbox" checked="{{isChecked}}" class="toggle-checked" />
<span>{{text}}</span>
</label>
<button class="delete">×</button>
</li>
...Next you need to have a function to delete the task. For that, let's create a new method called tasks.delete:
import { Meteor } from "meteor/meteor";
import { TasksCollection } from "./TasksCollection";

Meteor.methods({
  ..
  "tasks.delete"({ _id }) {
    return TasksCollection.removeAsync(_id);
  },
});
Now add the removal logic in the Task.js. It will just be a new event to the task template that is activated when the user clicks on a delete button (i.e. any button with the class delete):
...
Template.task.events({
...,
'click .delete'() {
let taskID = this._id;
Meteor.callAsync("tasks.delete", { _id: taskID });
},
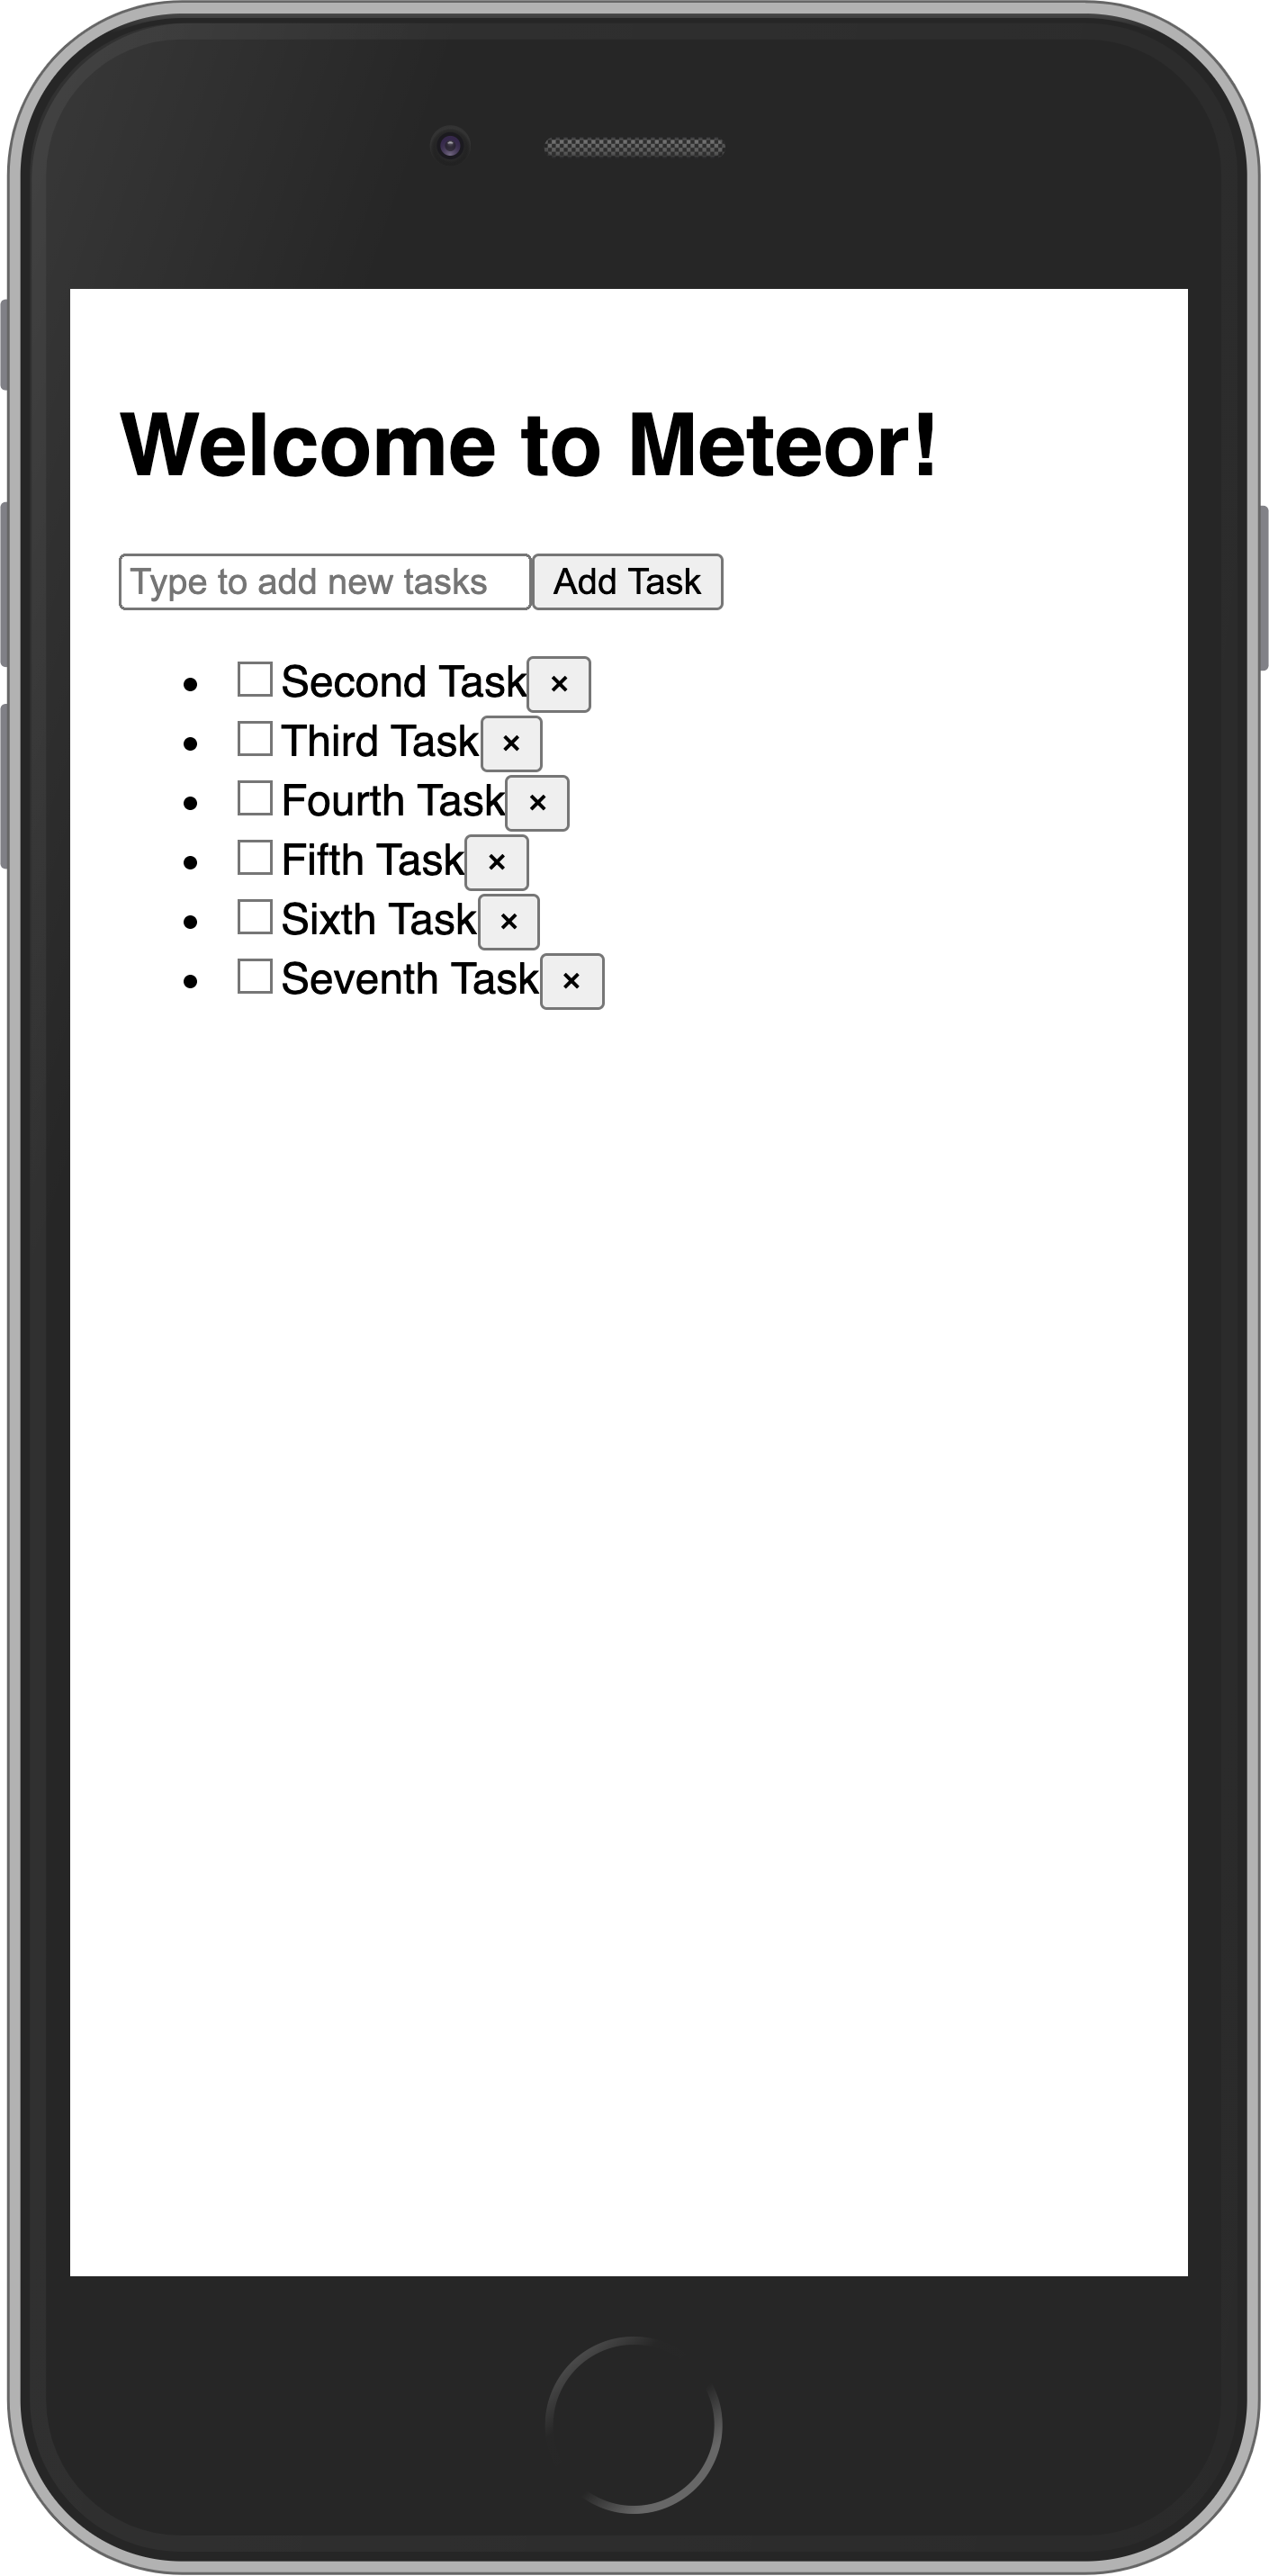
});Your app should look like this:
4.4: Getting data in event handlers
In a collection, every inserted document has a unique _id field that can refer to that specific document. Inside the event handlers, this refers to an individual task object. We can get the _id of the current task with this._id and any other field available on the client-side. Once we have the _id, we can use, update, and remove the relevant task. That’s how our code will update or remove a task.
In the next step, we are going to improve the look of your app using CSS with Flexbox.