
3: Forms and Events
All apps need to allow the user to perform some sort of interaction with the data that is stored. In our case, the first type of interaction is to insert new tasks. Without it, our To-Do app wouldn't be very helpful.
One of the main ways in which a user can insert or edit data on a website is through forms. In most cases, it is a good idea to use the <form> tag since it gives semantic meaning to the elements inside it.
3.1: Create Task Form
First, we need to create a simple form component to encapsulate our logic.
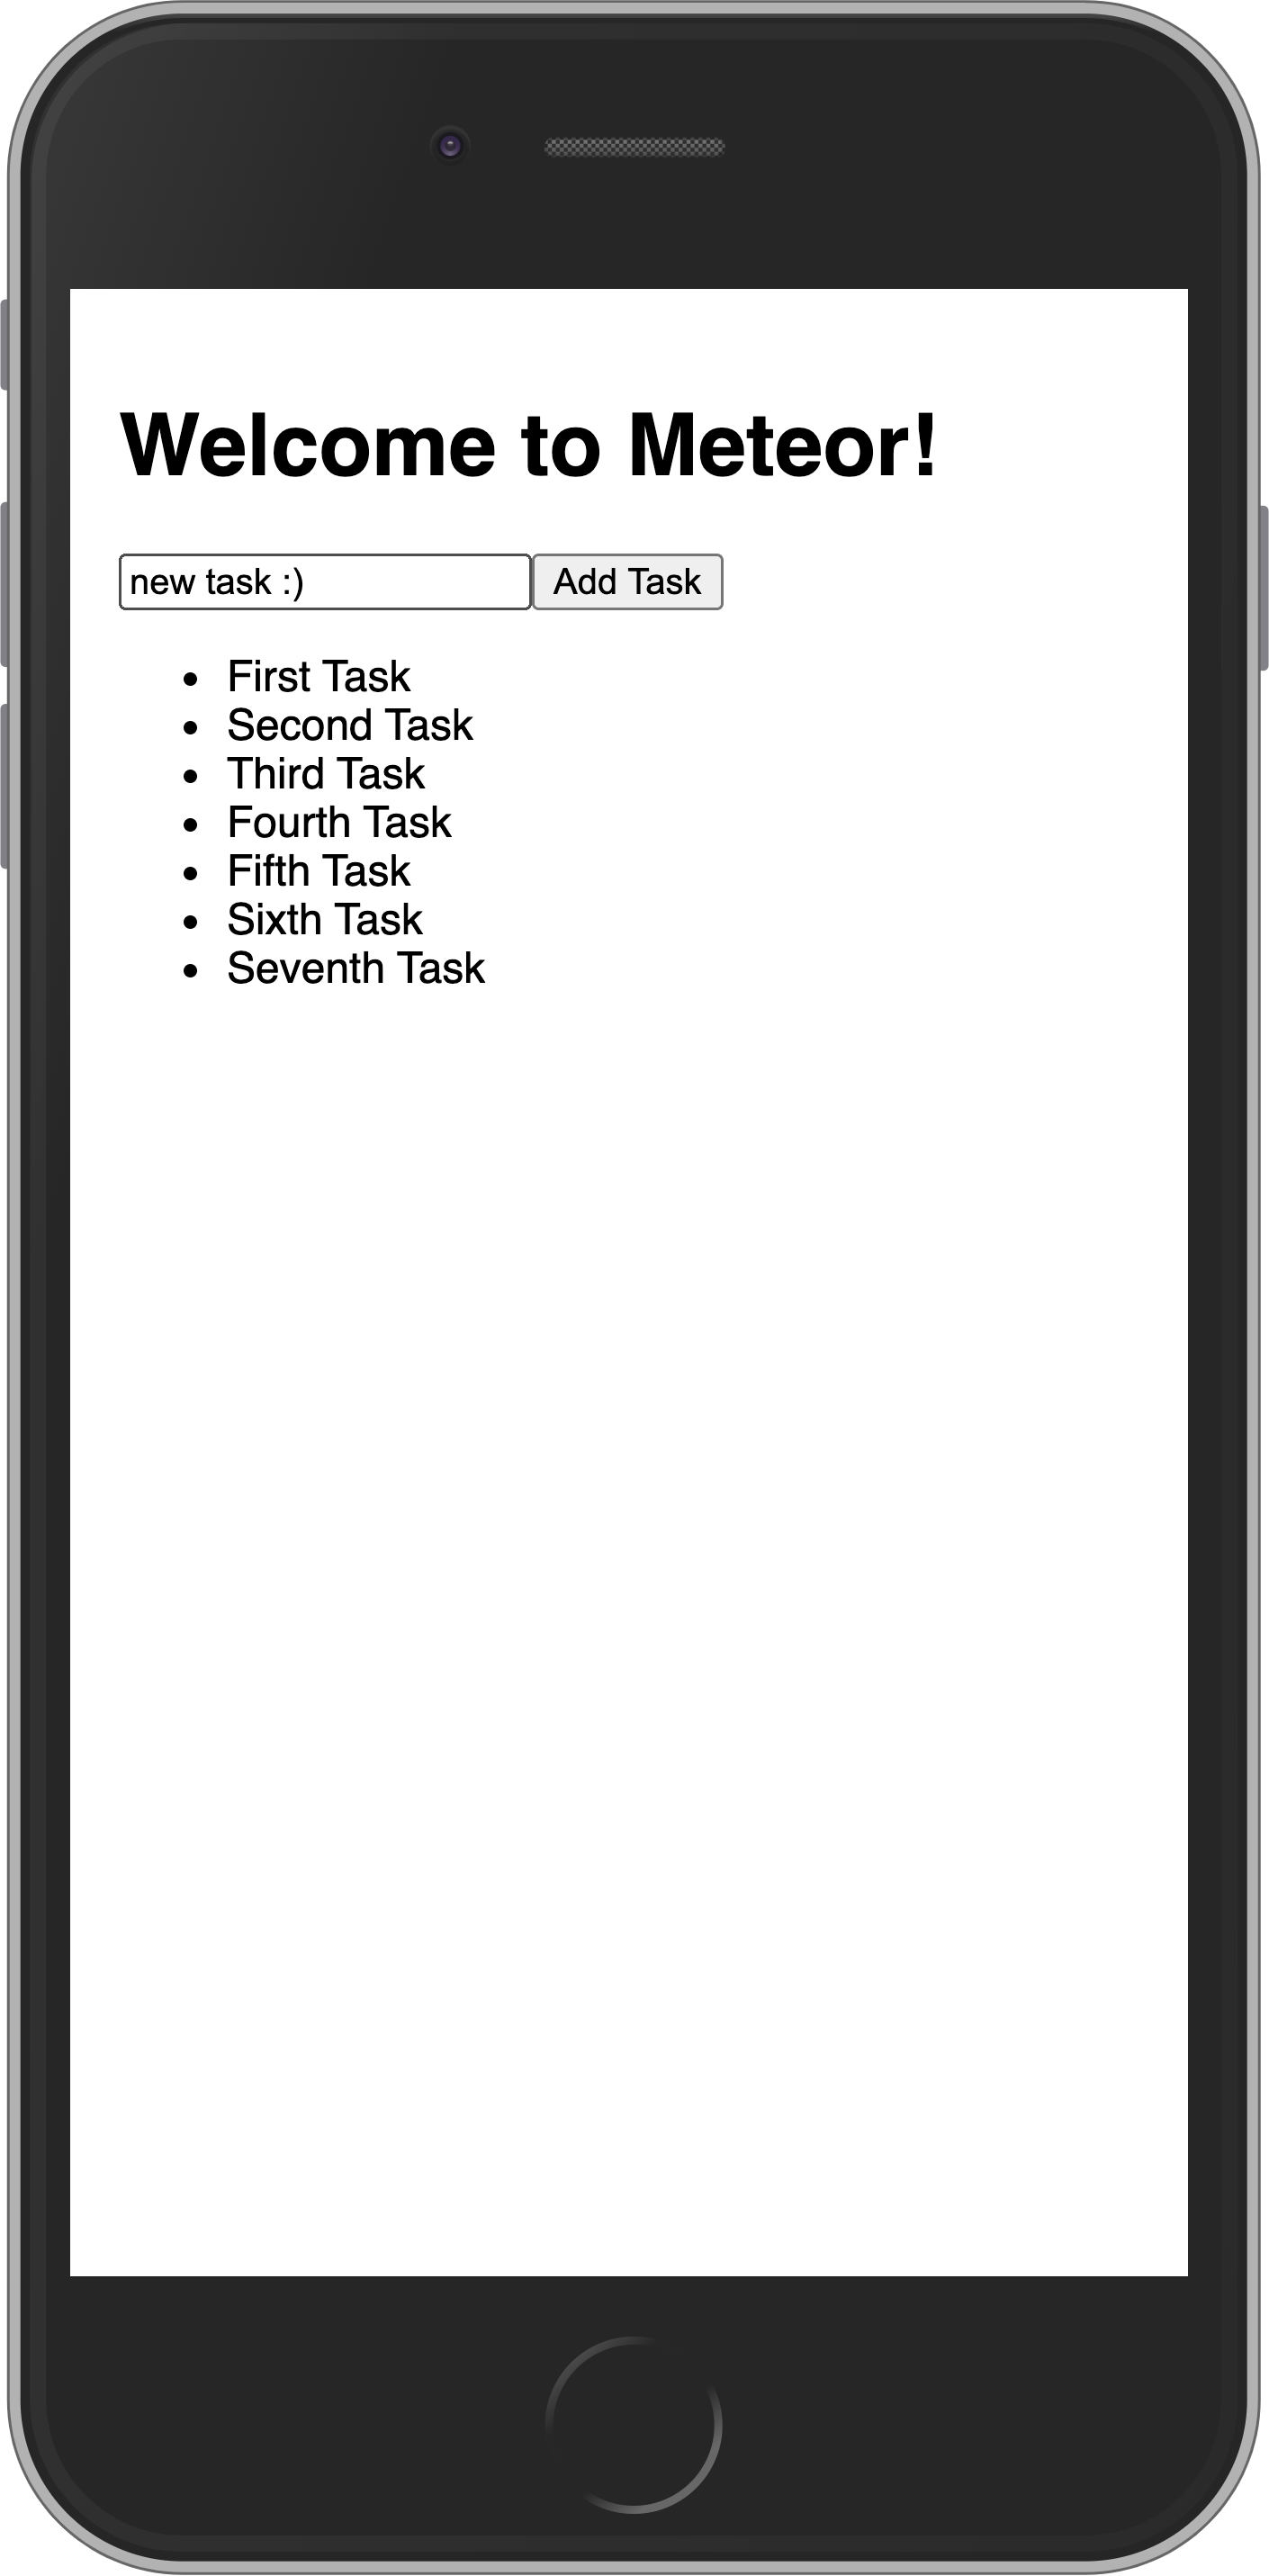
Create a new template named form inside the App.html file, and inside of the new template, we’ll add an input field and a button:
...

<template name="form">
    <form class="task-form">
        <input type="text" name="text" placeholder="Type to add new tasks" />
        <button type="submit">Add Task</button>
    </form>
</template>
3.2: Update the mainContainer template element
Then we can simply add this to our mainContainer template above your list of tasks:
...

<template name="mainContainer">
    <div class="container">
        <header>
            <h1>Todo List</h1>
        </header>

        {{> form }}

        <ul>
            {{#each tasks}}
                {{> task}}
            {{/each}}
        </ul>
    </div>
</template>

...
We are rendering the form template that we created in the previous step, and we are iterating over each of the tasks and rendering them using the task template.
3.3: Update the Stylesheet
You also can style it as you wish. For now, we only need some margin at the top so the form doesn't seem off the mark. Add the CSS class .task-form, this needs to be the same name in your class attribute in the form component.
.task-form {
  margin-top: 1rem;
}
3.4: Add Submit Handler
Now let's create a function to handle the form submit and insert a new task into the database. To do it, we will need to implement a Meteor Method.
Methods are essentially RPC calls to the server that let you perform operations on the server side securely. You can read more about Meteor Methods here.
To create your methods, you can create a file called TasksMethods.js.
import { Meteor } from "meteor/meteor";
import { TasksCollection } from "./TasksCollection";

Meteor.methods({
  "tasks.insert"(doc) {
    return TasksCollection.insertAsync(doc);
  },
});
Remember to import your method on the main.js server file, delete the insertTask function, and invoke the new meteor method inside the forEach block.
import { Meteor } from "meteor/meteor";
import { TasksCollection } from "/imports/api/TasksCollection";
import "../imports/api/TasksPublications";
import "../imports/api/TasksMethods";

Meteor.startup(async () => {
  if ((await TasksCollection.find().countAsync()) === 0) {
    [
      "First Task",
      "Second Task",
      "Third Task",
      "Fourth Task",
      "Fifth Task",
      "Sixth Task",
      "Seventh Task",
    ].forEach((taskName) => {
      Meteor.callAsync("tasks.insert", {
        text: taskName,
        createdAt: new Date(),
      });
    });
  }
});
Inside the forEach function, we are adding a task to the tasks collection by calling Meteor.callAsync(). The first argument is the name of the method we want to call, and the second argument is the text of the task.
Also, insert a date createdAt in your task document so you know when each task was created.
Now we need to import TasksMethods.js and add a listener to the submit event on the form:
import { Template } from 'meteor/templating';
import { TasksCollection } from "../api/TasksCollection";
import '/imports/api/TasksMethods.js'; // this import in this client UI allows for optimistic execution
import './App.html';

Template.mainContainer.onCreated(function mainContainerOnCreated() {
  Meteor.subscribe('tasks');
});

Template.mainContainer.helpers({
  tasks() {
    return TasksCollection.find({});
  },
});

Template.form.events({
  "submit .task-form"(event) {
    // Prevent default browser form submit
    event.preventDefault();

    // Get value from form element
    const target = event.target;
    const text = target.text.value;

    // Insert a task into the collection
    Meteor.callAsync("tasks.insert", {
      text,
      createdAt: new Date(), // current time
    });

    // Clear form
    target.text.value = '';
  }
});
Event listeners are added to templates in much the same way as helpers are: by calling Template.templateName.events(...) with a dictionary. The keys describe the event to listen for, and the values are event handlers called when the event happens.
In our case above, we listen to the submit event on any element that matches the CSS selector .task-form. When this event is triggered by the user pressing enter inside the input field or the submit button, our event handler function is called.
The event handler gets an argument called event that has some information about the triggered event. In this case, event.target is our form element, and we can get the value of our input with event.target.text.value. You can see all the other properties of the event object by adding a console.log(event) and inspecting the object in your browser console.
Just like on the server side, we are adding a task to the tasks collection by calling Meteor.callAsync("tasks.insert"). It will first execute on the client optimistically using minimongo while simultaneously making the remote procedure call on the server. If the server call fails, minimongo will rollback the change on the client. This gives the speediest user experience. It's a bit like rollback netcode in fighting video games.
Finally, in the last line of the event handler, we need to clear the input to prepare for another new task.
3.5: Show Newest Tasks First
Now you just need to make a change that will make users happy: we need to show the newest tasks first. We can accomplish this quite quickly by sorting our Mongo query.
...

Template.mainContainer.helpers({
  tasks() {
    return TasksCollection.find({}, { sort: { createdAt: -1 } });
  },
});

...
Your app should look like this:
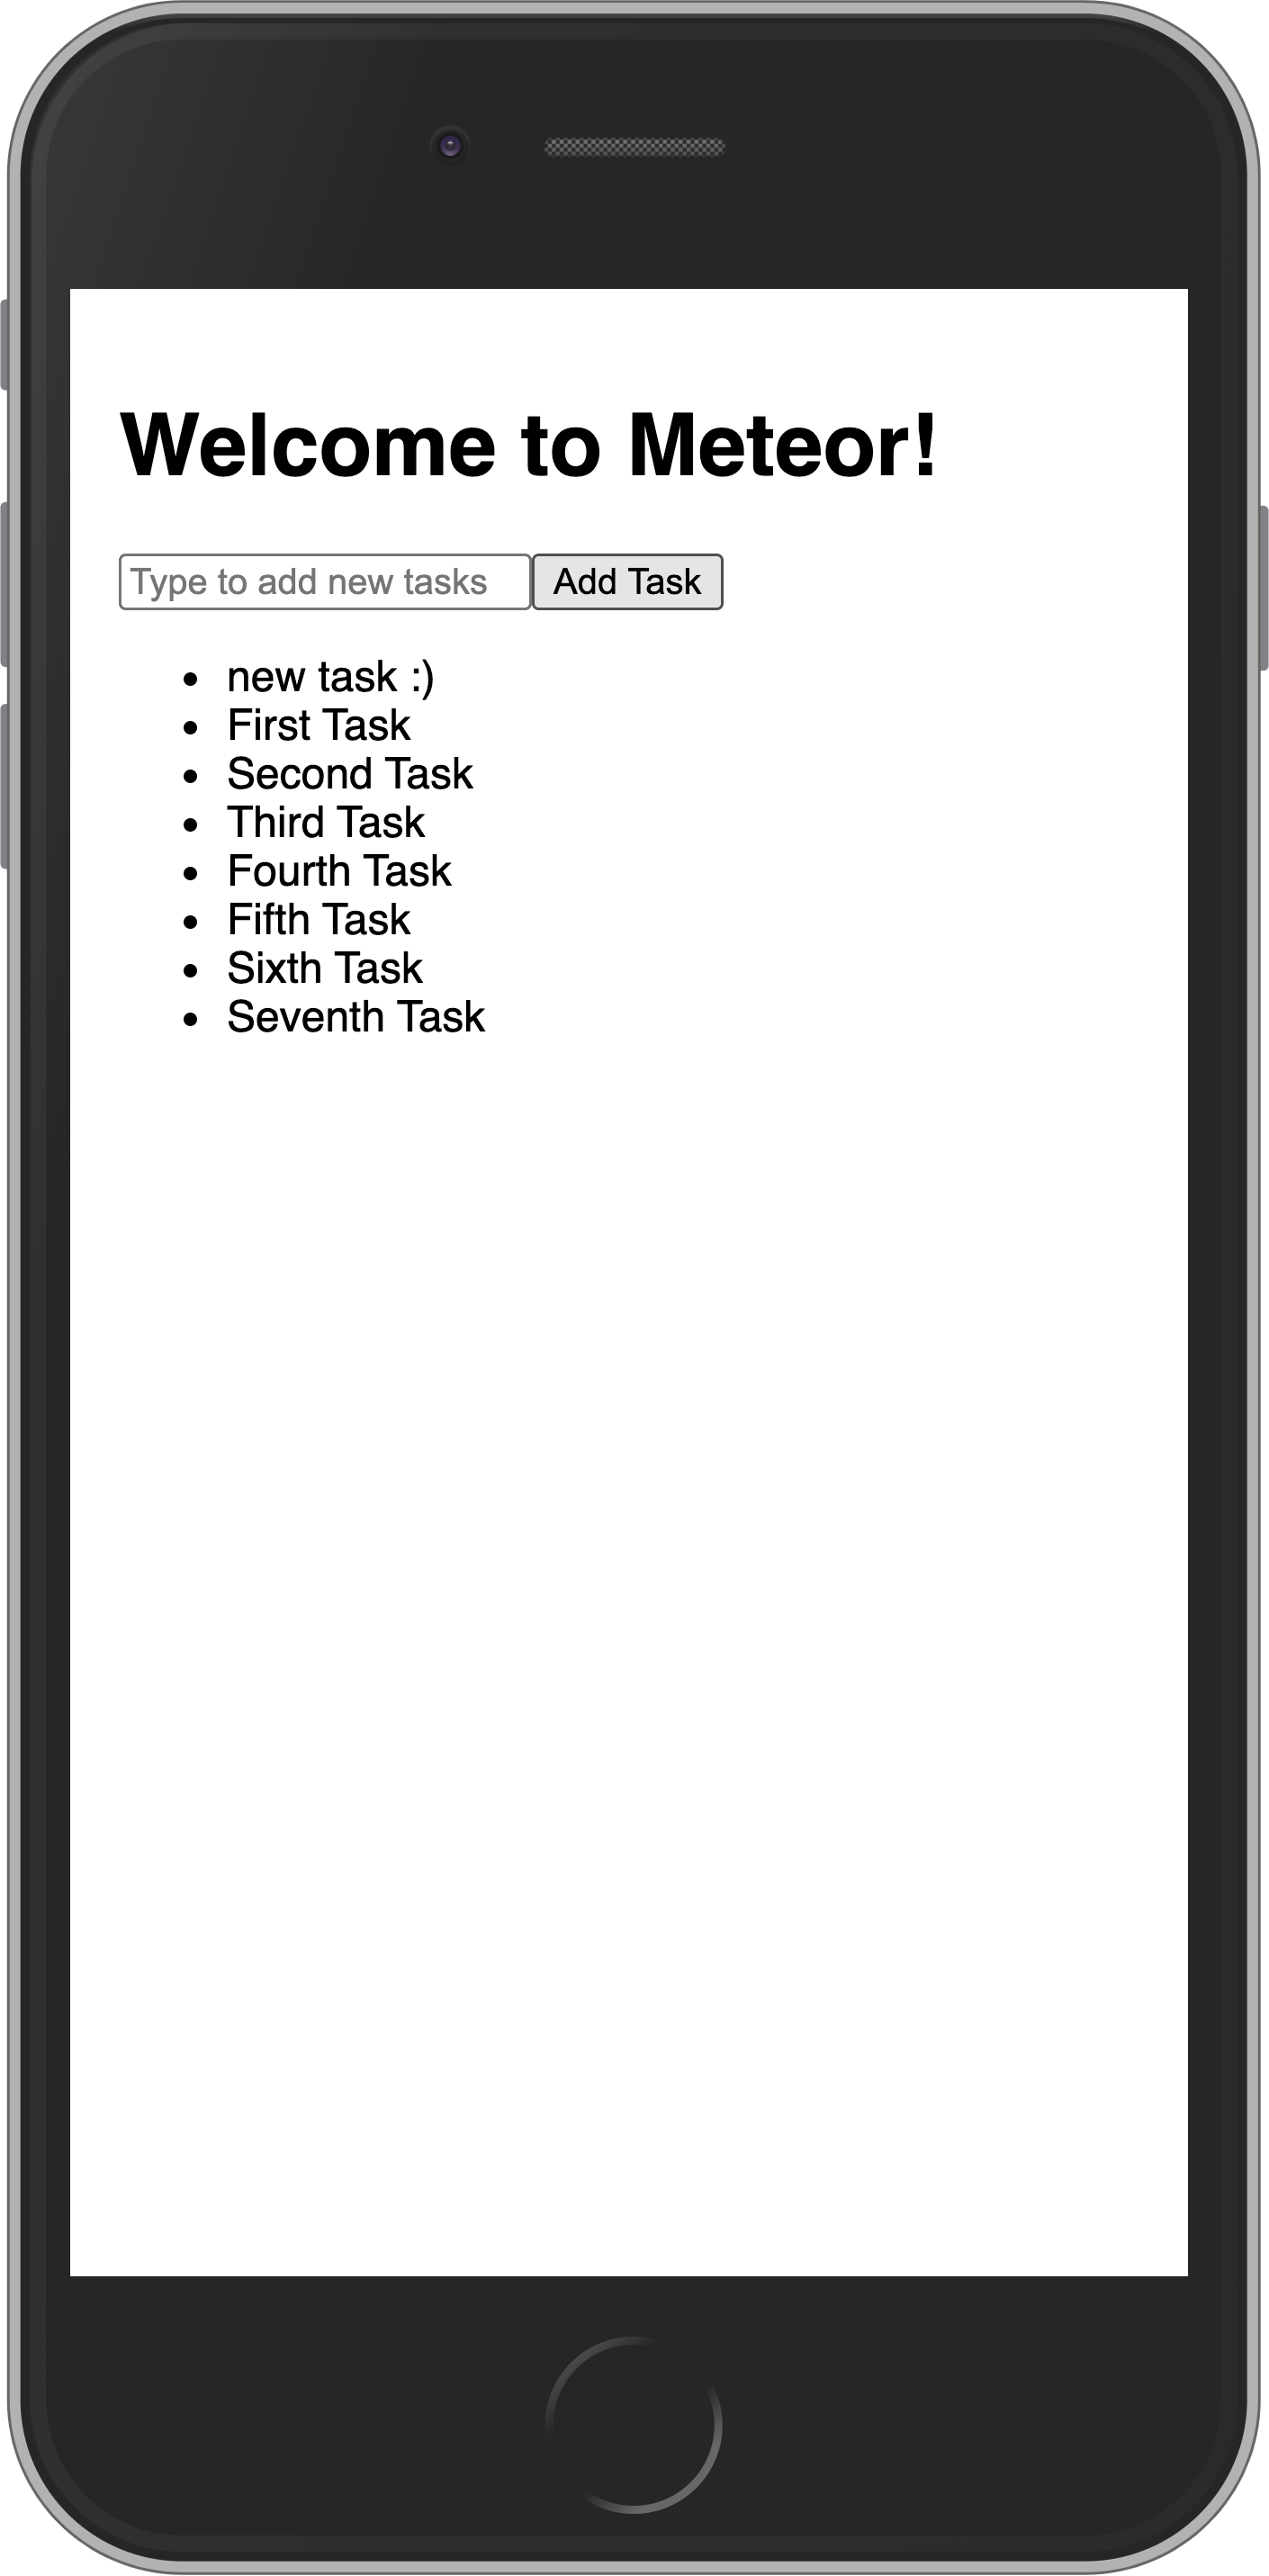
In the next step, we are going to update your tasks state and provide a way for users to remove tasks.